How to build Jekyll sites
The normal way to build the Jekyll site is through the build command:
jekyll build
To build the site and view it in a live server so that Jekyll rebuilds that site each time you make a change, use the serve command:
jekyll serve
By default, the _config.yml in the root directory will be used, Jekyll will scan the current directory for files, and the folder _site will be used as the output. You can customize these build commands like this:
jekyll serve --config configs/myspecialconfig.yml --destination ../doc_outputs
Here the configs/myspecialconfig.yml file is used instead of _config.yml. The destination directory is ../doc_outputs, which would be one level up from your current directory.
Shortcuts for the build arguments
If you have a long build argument and don’t want to enter it every time in Jekyll, noting all your configuration details, you can create a shell script and then just run the script. Simply put the build argument into a text file and save it with the .sh extension (for Mac) or .bat extension (for Windows). Then run it like this:
. myscript.sh
My preference is to add the scripts to profiles in iTerm. See iTerm profiles for more details.
Stop a server
When you’re done with the preview server, press Ctrl+C to exit out of it. If you exit iTerm or Terminal without shutting down the server, the next time you build your site, or if you build multiple sites with the same port, you may get a server-already-in-use message.
You can kill the server process using these commands:
ps aux | grep jekyll
Find the PID (for example, it looks like “22298”).
Then type kill -9 22298 where “22298” is the PID.
To kill all Jekyll instances, use this:
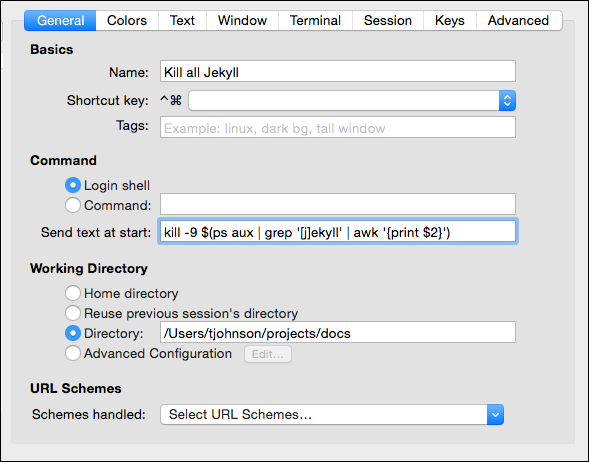
kill -9 $(ps aux | grep '[j]ekyll' | awk '{print $2}')
I recommend creating a profile in iTerm that stores this command. Here’s what the iTerm settings look like:
